First-time setup
Install Gate House
Add the plugin to WordPress, activate your license, then choose your protection settings.
Download your plugin
Sign in to your Gate House account using the email address you purchased with. Download the latest plugin ZIP and keep your license key handy.
Upload the ZIP in WordPress
Open Plugins → Add Plugin → Upload Plugin. Choose the Gate House ZIP, then select Install Now.
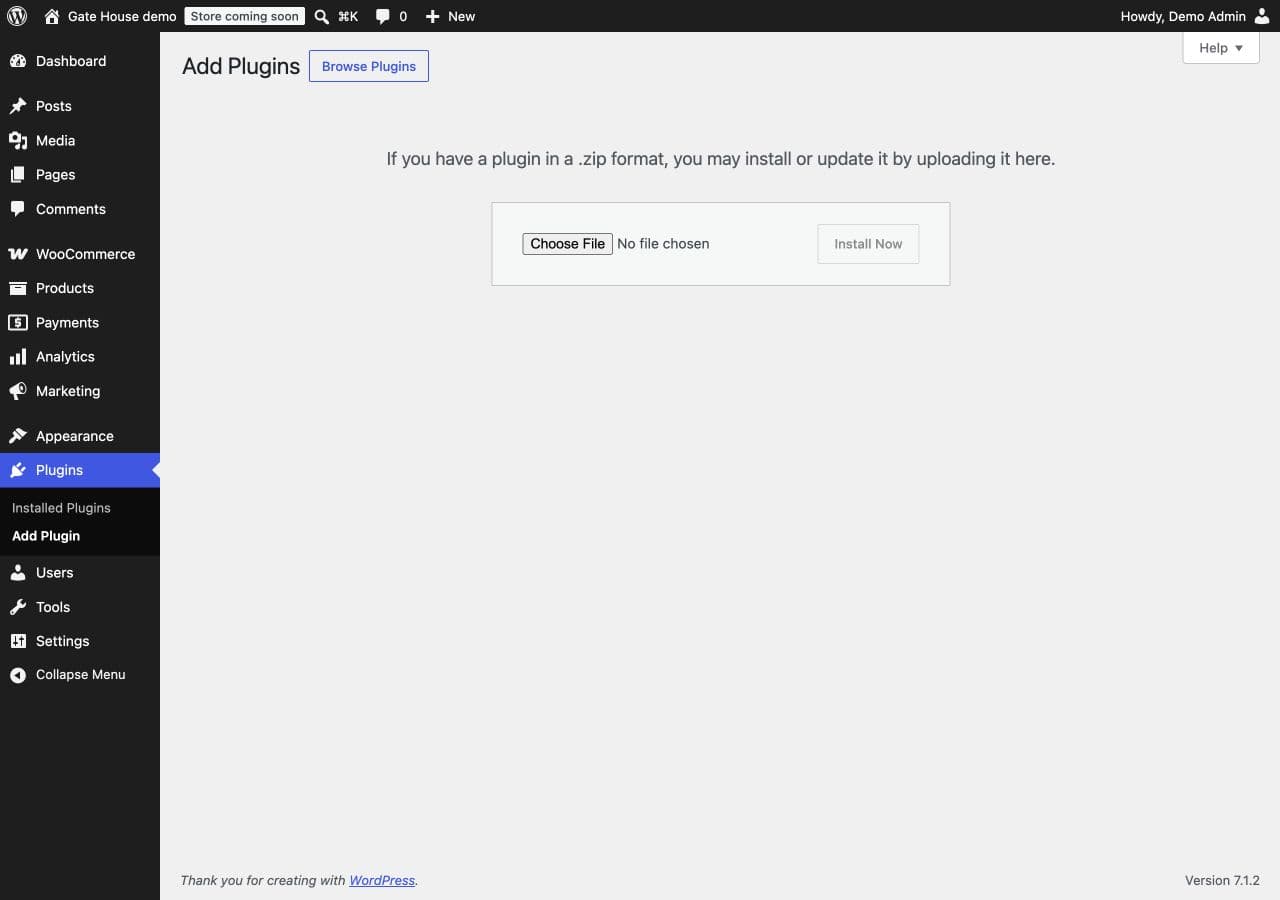
Upload the ZIP you downloaded from your Gate House account.Open full-size image (opens in a new tab) When installation finishes, select Activate Plugin. You can also activate Gate House from the Installed Plugins list.
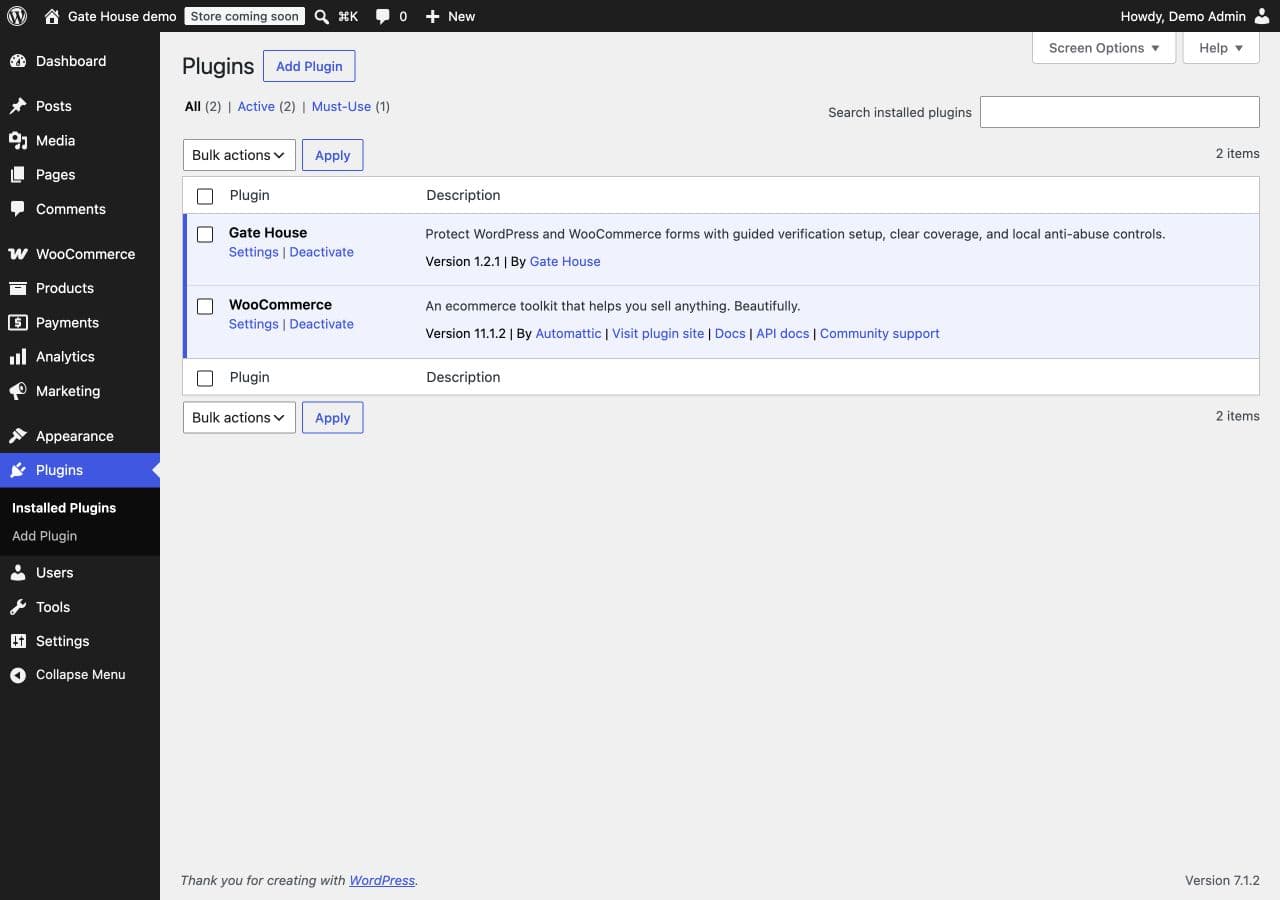
After activation, the plugin row shows Settings and Deactivate links, as shown here.Open full-size image (opens in a new tab) Activate your license
Open Settings → Gate House → License. Paste your license key and choose Activate license. Check that the status changes to Active.
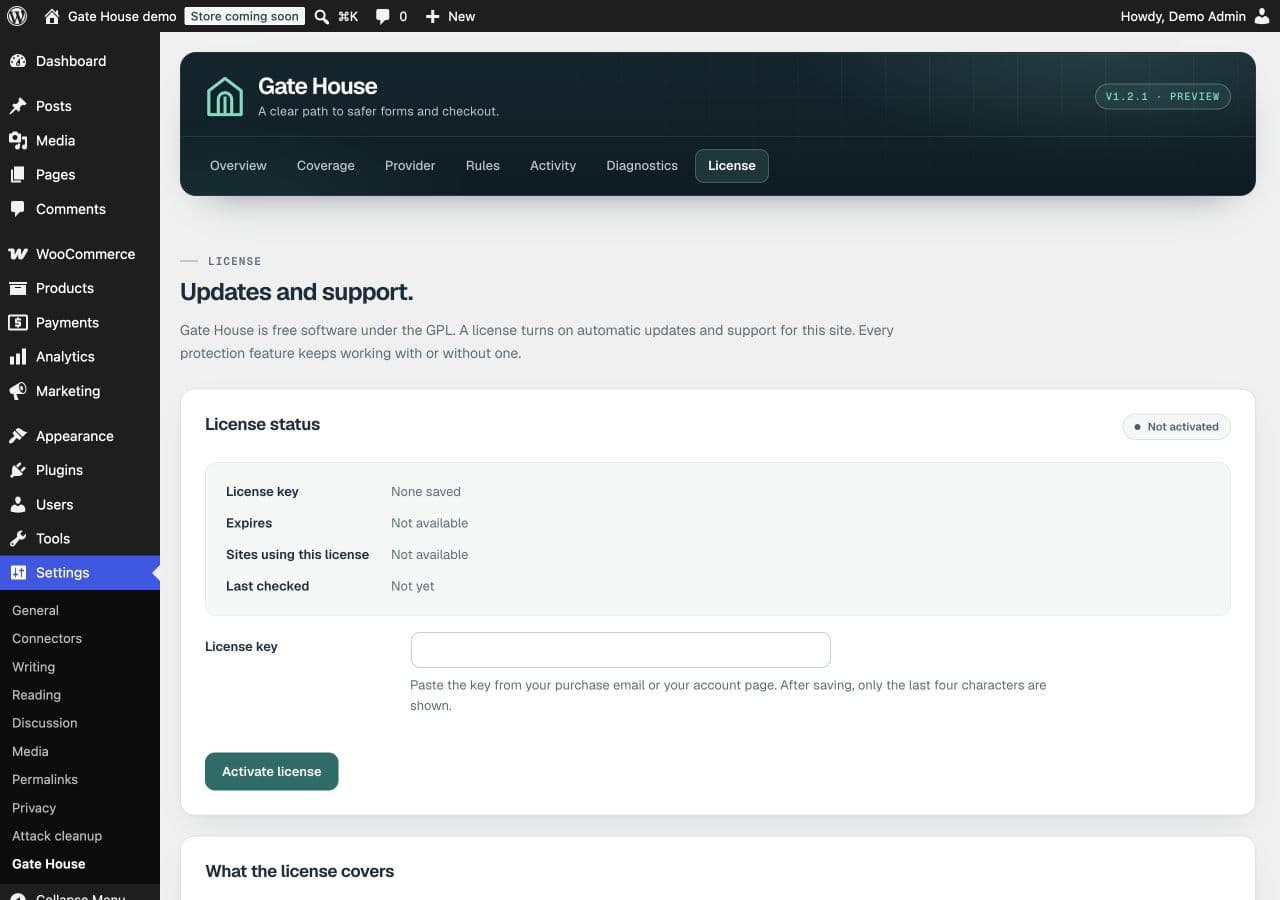
Your license enables automatic updates and support. The example has no license key entered.Open full-size image (opens in a new tab)
Staging and local copies
Each license allows up to five qualifying test activations in addition to its production-site allowance.
What qualifies as a test site?
The WordPress environment must be marked staging, development or local, and use a recognized testing address such as staging.example.com, example.local or a supported host’s staging domain. A normal public address still counts toward your production allowance.
Ask your host to check the environment setting, or contact us if you’re unsure.
Updating an existing installation or using multisite?
For a manual update, upload the new ZIP and choose Replace current with uploaded. Don’t uninstall first: uninstalling can remove plugin data if that option is enabled. The internal folder stays unified-site-protection so your settings carry over.
Activate the plugin on an individual site. Network activation isn’t supported, and account cleanup is available on single-site installations only.